
This article contains affiliate links. If you purchase through our links, we may earn a commission at no extra cost to you. We only recommend products we’ve thoroughly researched and verified.
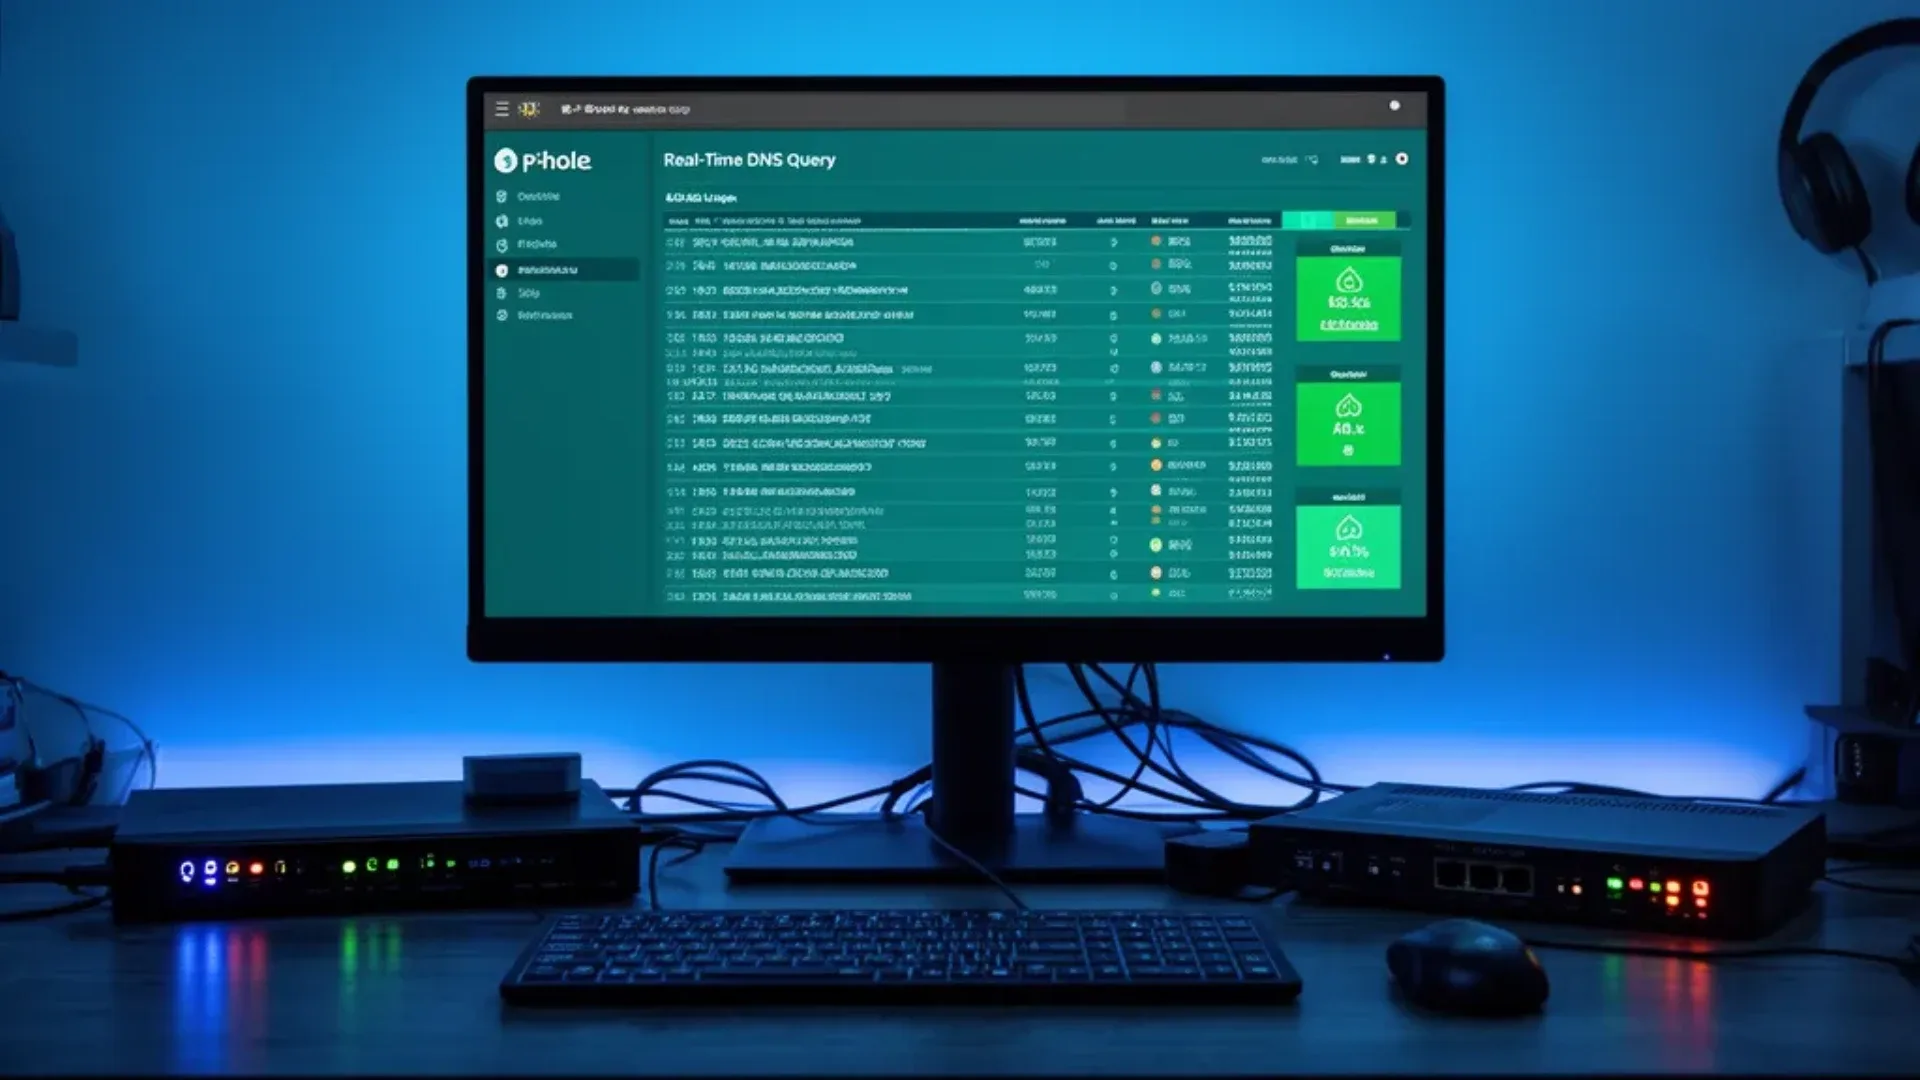
Pi-hole blocks ads and trackers on every device in your home at the DNS level — Smart TVs, phones, tablets, game consoles, and IoT devices all benefit without any device-side configuration. Running Pi-hole on a mini PC gives you a reliable, always-on DNS server at around 50MB of RAM. This guide deploys Pi-hole via Docker, configures blocklists, connects it to your router, and sets up DNS-over-HTTPS for encrypted upstream queries.
What you need:
- A mini PC running Ubuntu Server 24.04 LTS with Docker installed
- Access to your router’s admin panel to change DHCP DNS settings
Step 1: Free Port 53
Pi-hole needs port 53 for DNS. Ubuntu Server’s systemd-resolved uses port 53 by default.
# Check what's using port 53
sudo ss -tulpn | grep :53

# Stop and disable systemd-resolved
sudo systemctl stop systemd-resolved
sudo systemctl disable systemd-resolved

# Create a static resolv.conf so the mini PC itself can resolve DNS
sudo rm /etc/resolv.conf
echo "nameserver 1.1.1.1" | sudo tee /etc/resolv.conf
echo "nameserver 8.8.8.8" | sudo tee -a /etc/resolv.conf
Verify port 53 is now free:
sudo ss -tulpn | grep :53
# Should show nothing
Step 2: Deploy Pi-hole
mkdir -p ~/pihole/{etc-pihole,etc-dnsmasq.d}
nano ~/pihole/docker-compose.ymlservices:
pihole:
image: pihole/pihole:latest
container_name: pihole
network_mode: host # Required for DNS to function properly
environment:
TZ: America/New_York
WEBPASSWORD: change-this-password # Pi-hole admin UI password
PIHOLE_DNS_: "1.1.1.1;8.8.8.8" # Upstream DNS servers
DNSSEC: "true" # Enable DNSSEC validation
DNSMASQ_LISTENING: "all"
volumes:
- ./etc-pihole:/etc/pihole
- ./etc-dnsmasq.d:/etc/dnsmasq.d
cap_add:
- NET_ADMIN
restart: unless-stoppedcd ~/pihole
docker compose up -d
docker compose logs -f # Watch startup — takes 30-60 secondsAccess the Pi-hole admin UI at http://192.168.1.100/admin.
Log in with the password set in WEBPASSWORD.
Step 3: Configure Upstream DNS with DNS-over-HTTPS
By default, Pi-hole queries upstream DNS servers over plain UDP — visible to your ISP. Use cloudflared Cloudflare’s DoH proxy to encrypt all upstream DNS queries.
nano ~/pihole/docker-compose.ymlAdd the cloudflared service:
services:
  cloudflared:
    image: cloudflare/cloudflared:latest
    container_name: cloudflared
    command: proxy-dns --port 5053 --upstream https://1.1.1.1/dns-query --upstream https://1.0.0.1/dns-query
    network_mode: host
    restart: unless-stopped

  pihole:
    image: pihole/pihole:latest
    container_name: pihole
    network_mode: host
    environment:
      TZ: America/New_York
      WEBPASSWORD: change-this-password
      PIHOLE_DNS_: "127.0.0.1#5053"    # Route upstream through cloudflared DoH
      DNSSEC: "false"                   # Let cloudflared handle DNSSEC
      DNSMASQ_LISTENING: "all"
    volumes:
      - ./etc-pihole:/etc/pihole
      - ./etc-dnsmasq.d:/etc/dnsmasq.d
    cap_add:
      - NET_ADMIN
    depends_on:
      - cloudflared
    restart: unless-stopped
docker compose up -dVerify DoH is working:
docker logs cloudflared | tail -20
# Should show "Starting DNS over HTTPS proxy server"
Step 4: Add Blocklists
Pi-hole includes the standard blocklist gravity. Augment it with additional lists:
Admin UI → Adlists:
High quality, low false positives:
https://raw.githubusercontent.com/StevenBlack/hosts/master/hosts
https://raw.githubusercontent.com/hagezi/dns-blocklists/main/adblock/normal.txt
https://big.oisd.nl/domainswild
Additional tracking protection:
https://raw.githubusercontent.com/crazy-max/WindowsSpyBlocker/master/data/hosts/spy.txt
https://raw.githubusercontent.com/nicehash/NiceHashQuickMiner/master/install/blocklist.txt
Social media optional — disable if you use these services:
https://raw.githubusercontent.com/StevenBlack/hosts/master/alternates/social/hostsAfter adding lists: Tools → Update Gravity. Pi-hole downloads all lists, deduplicates, and compiles into the gravity database.
Check the gravity count: Dashboard shows the total number of blocked domains.
Typical result after adding these lists: 1.5-3 million blocked domains.
Step 5: Point Your Router to Pi-hole
Change your router’s DHCP DNS settings to use Pi-hole:
In your router admin panel:
- Primary DNS:
192.168.1.100your mini PC - Secondary DNS:
1.1.1.1fallback if Pi-hole is down
How to find the setting: look for “DHCP Settings,” “DNS Server,” or “Name Server” in your router’s LAN settings.
Assign your mini PC a static IP in your router’s DHCP settings or configure a static IP on Ubuntu — if the IP changes, devices will stop using Pi-hole for DNS.
Verify: after router saves settings, run ipconfig /all Windows or cat /etc/resolv.conf Linux/Mac from a client device. The DNS server should show 192.168.1.100.
Step 6: Verify Blocking Is Working
From any device on your network:
# This ad server should be blocked
nslookup doubleclick.net 192.168.1.100
# Result should be: 0.0.0.0 or NXDOMAIN

# This legitimate site should resolve
nslookup google.com 192.168.1.100
# Result should be: a real IP address
Visit a site with banner ads — ads should disappear. Check the Pi-hole dashboard: the query log shows all DNS requests from all devices in real time.
Adding Per-Client Rules
Pi-hole identifies clients by IP. Assign different blocking profiles to different devices:
Settings → Client Management → Add Client:
- IP:
192.168.1.50 - Name:
Kids iPad - Group: assign to “Children” group
Create groups in Group Management. Apply different blocklists to different groups.
Example setup:
- Default group: standard ad/tracker blocking
- Children group: standard blocking + adult content blocking
- Work laptop: minimal blocking corporate tools often use ad-network CDNs
Custom DNS Records for Local Services
Pi-hole can resolve local hostnames, so jellyfin.local points to 192.168.1.100:
Local DNS → DNS Records:
| Domain | IP |
|---|---|
jellyfin.home | 192.168.1.100 |
ha.home | 192.168.1.100 |
nextcloud.home | 192.168.1.100 |
portainer.home | 192.168.1.100 |
Access your services by name without remembering port numbers. Combine with Nginx Proxy Manager to serve each service on port 80/443 at its hostname.
Home Assistant Integration
The Pi-hole Home Assistant integration pulls stats into HA:
Settings → Integrations → Add Integration → Pi-hole:
- Host:
192.168.1.100 - Port:
80 - Location:
/ - API Token: Pi-hole admin → Settings → API → Show API Token
Available sensors:
sensor.pi_hole_ads_blocked_today— total blocked queries todaysensor.pi_hole_ads_percentage_blocked— percentage of queries blockedsensor.pi_hole_dns_queries_today— total DNS queriesbinary_sensor.pi_hole_status— whether Pi-hole is enabled
Create an automation to re-enable Pi-hole if it gets accidentally disabled:
automation:
  - alias: "Re-enable Pi-hole if disabled"
    trigger:
      - platform: state
        entity_id: binary_sensor.pi_hole_status
        to: "off"
        for: "00:05:00"
    action:
      - service: pi_hole.enable
Whitelisting Broken Services
When something stops working after enabling Pi-hole, check the query log Admin → Query Log for blocked domains from that device. Add the domain to the whitelist:
Whitelist → Add Exact Whitelist entry:
clients3.google.com   # Google Calendar
outlook.live.com      # Outlook
signin.aws.amazon.com # AWS Console
Pi-hole’s default lists are conservative — if you added aggressive lists social media blocking, they may block things you use. The query log identifies exactly which domain caused the issue.
Maintaining Pi-hole
Update Gravity Weekly
# Manual update
docker exec pihole pihole -g

# Schedule automatically via cron:
# 0 4 * * 0 docker exec pihole pihole -g  (every Sunday at 4am)
Flush Old Query Logs
Pi-hole’s long-term log database can grow large over months. Configure retention:
Settings → System → Database cleanup retention: 30 days.
Or flush manually:
docker exec pihole pihole flushUpdate the Container
cd ~/pihole
docker compose pull
docker compose up -d
Who Should Skip This Comparison
Frequently Asked Questions
How do I temporarily disable Pi-hole e.g., for troubleshooting?
Admin UI → Disable → select duration 10 seconds, 5 minutes, indefinitely. Pi-hole passes all queries to upstream DNS without blocking. Re-enable automatically after the set time.
Does Pi-hole affect connection speed?
Adding a Pi-hole hop between your device and the internet adds 0-2ms of latency for DNS resolution. DNS queries are tiny and LAN routing is fast. The practical effect on browsing speed is zero to imperceptible.
Can Pi-hole see what websites I visit?
Yes — Pi-hole logs all DNS queries from all devices. It can see which domains are queried, when, and by which IP address. It does not see the content of HTTPS connections full URLs, page content. For household use this is fine — the admin is typically the household owner. Disable query logging Settings → Privacy if you want minimal tracking.
What is Pi-hole and how does network-wide blocking work?
Pi-hole is a DNS sinkhole — it acts as your network’s DNS server. Every device on your network sends DNS queries to Pi-hole instead of your ISP or 8.8.8.8. Pi-hole checks each query against blocklists; blocked domains return a null response instead of the ad server’s IP. The ad or tracker never loads. This works on every device automatically — no browser extension, no per-device configuration.
Does Pi-hole block YouTube ads?
No. YouTube ads are served from the same domains as video content googlevideo.com, ytimg.com. Blocking those domains breaks YouTube entirely. YouTube ad blocking requires a browser extension like uBlock Origin. Pi-hole excels at blocking banner ads, display networks, and tracking scripts on regular websites, but cannot touch in-stream video ads on major platforms.
Should I use Pi-hole or AdGuard Home?
Both provide equivalent ad blocking effectiveness. Pi-hole has a larger community, more blocklist tooling, and has been the standard for longer. AdGuard Home has a more modern UI and built-in DNS-over-HTTPS without needing cloudflared. For existing Pi-hole users, there’s no compelling reason to switch. For new setups, either is a valid choice — this guide covers Pi-hole specifically.
What if Pi-hole goes down — does my internet stop working?
Only if you configure it as your only DNS server. The safe approach: set Pi-hole as primary DNS 192.168.1.100 and Cloudflare 1.1.1.1 as secondary in your router’s DHCP settings. Devices automatically fall back to 1.1.1.1 if Pi-hole is unreachable. The fallback bypasses blocking temporarily, but internet continues working.