
This article contains affiliate links. If you purchase through our links, we may earn a commission at no extra cost to you. We only recommend products we’ve thoroughly researched and verified.
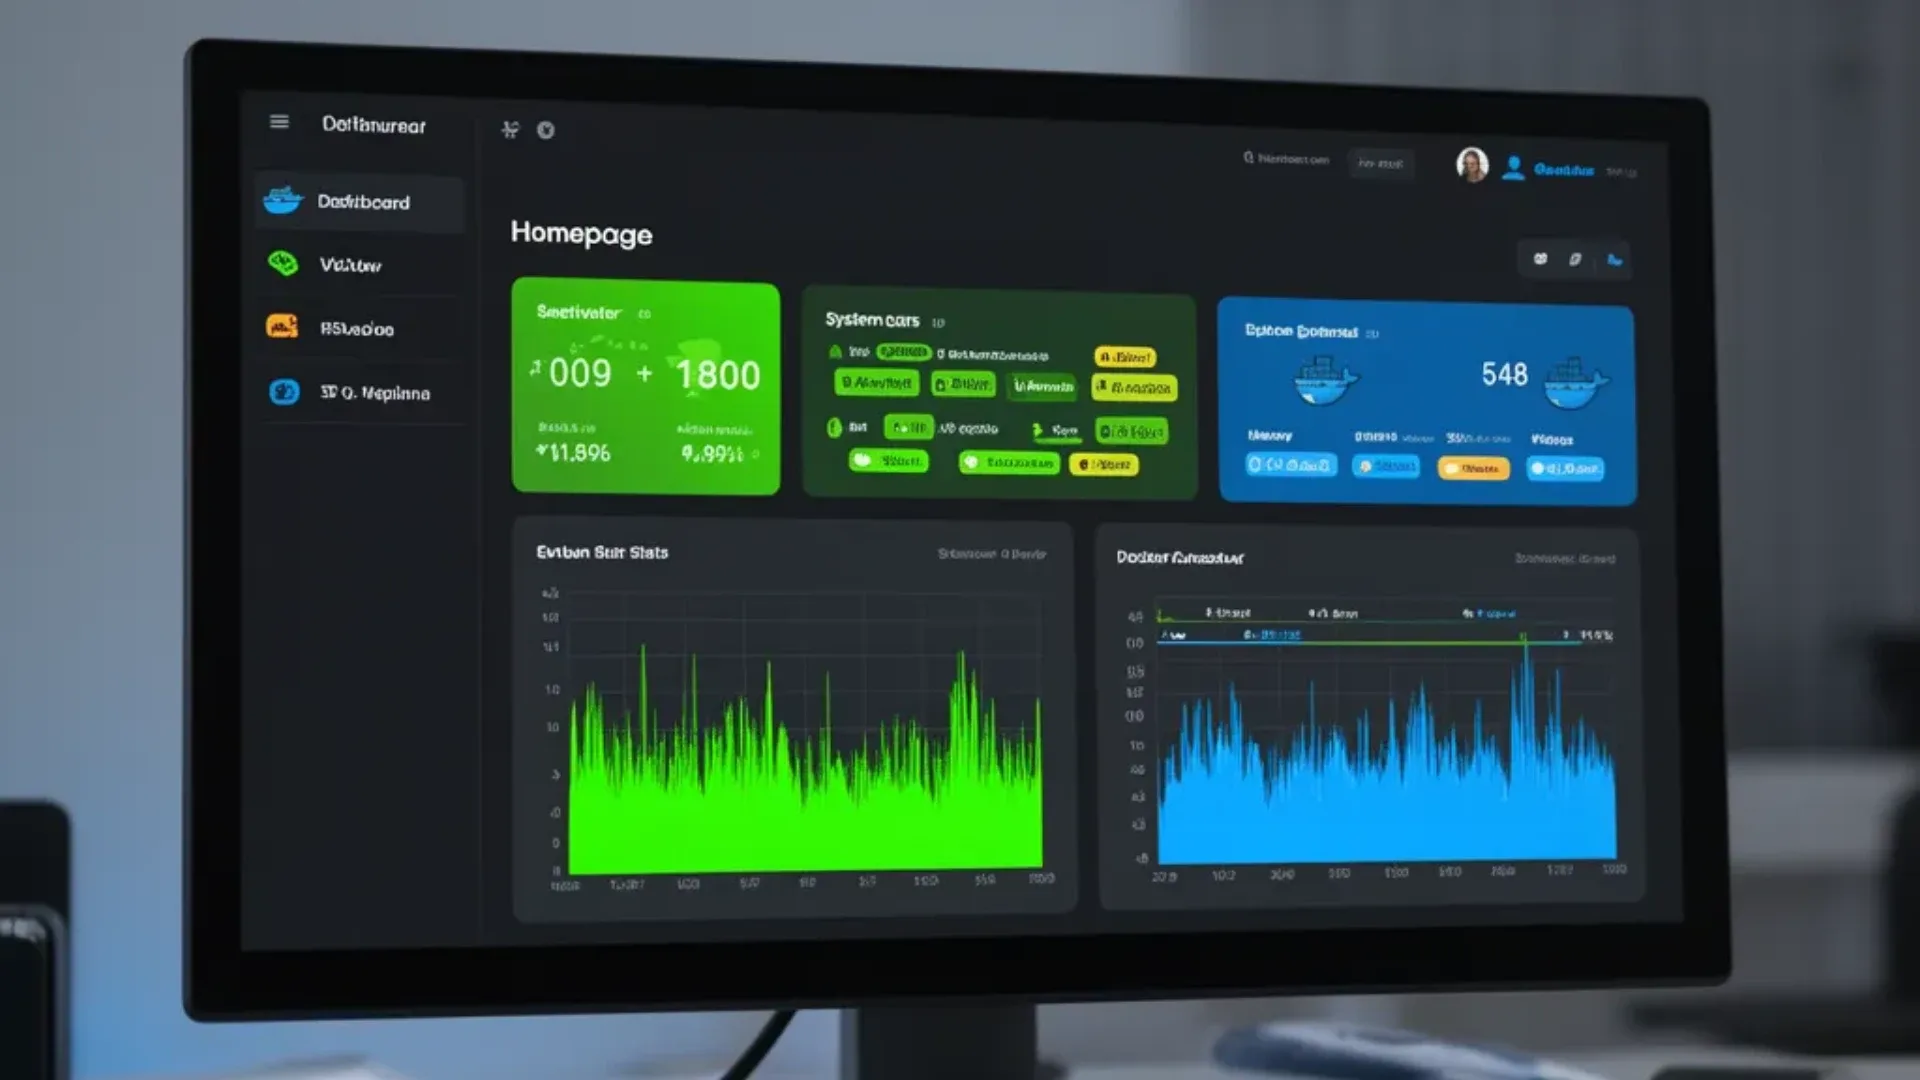
A service dashboard turns your mini PC from a collection of ports and IPs into a coherent home server. One URL shows your services, their status, and live stats — CPU, memory, disk usage, and per-service metrics like Plex active streams, Pi-hole query count, and Sonarr queue. This guide deploys Homepage the most widely used option in the homelab community, walks through service configuration, and sets up system stat widgets.
What you need:
- A mini PC running Ubuntu Server 24.04 LTS with Docker installed
- Docker Compose services already running Jellyfin, HA, Pi-hole, etc.
Option 1: Homepage Recommended
Homepage auto-discovers Docker containers and reads their labels for service configuration. It’s YAML-configured, which means your setup is in version-controlled files rather than a database.
Deploy Homepage
mkdir -p ~/homepage/{config,icons}
nano ~/homepage/docker-compose.ymlservices:
homepage:
image: ghcr.io/gethomepage/homepage:latest
container_name: homepage
ports:
- "3000:3000"
volumes:
- ./config:/app/config
- /var/run/docker.sock:/var/run/docker.sock:ro # Read-only Docker access
environment:
HOMEPAGE_VAR_MY_NAME: "Home Server"
restart: unless-stoppedcd ~/homepage
docker compose up -dAccess at http://192.168.1.100:3000.
Configure Services
Homepage configuration lives in YAML files under ~/homepage/config/:
nano ~/homepage/config/services.yaml- Media:
- Jellyfin:
icon: jellyfin.png
href: http://192.168.1.100:8096
description: Media server
widget:
type: jellyfin
url: http://192.168.1.100:8096
key: YOUR-JELLYFIN-API-KEY # Settings → API Keys in Jellyfin
- Plex:
icon: plex.png
href: http://192.168.1.100:32400
description: Plex Media Server
widget:
type: plex
url: http://192.168.1.100:32400
key: YOUR-PLEX-TOKEN
- Automation:
- Home Assistant:
icon: home-assistant.png
href: http://192.168.1.100:8123
description: Smart home
widget:
type: homeassistant
url: http://192.168.1.100:8123
key: YOUR-HA-LONG-LIVED-TOKEN # Profile → Long-Lived Access Tokens
- n8n:
icon: n8n.png
href: http://192.168.1.100:5678
description: Workflow automation
- Network:
- Pi-hole:
icon: pihole.png
href: http://192.168.1.100:8080
description: DNS ad blocking
widget:
type: pihole
url: http://192.168.1.100:8080
key: YOUR-PIHOLE-API-KEY # Pi-hole admin → API Token
- Nginx Proxy Manager:
icon: nginx-proxy-manager.png
href: http://192.168.1.100:81
description: Reverse proxy
- Management:
- Portainer:
icon: portainer.png
href: https://192.168.1.100:9443
description: Docker management
widget:
type: portainer
url: https://192.168.1.100:9443
env: 1
key: YOUR-PORTAINER-API-KEY # Portainer → Account → Access Tokens
- Uptime Kuma:
icon: uptime-kuma.png
href: http://192.168.1.100:3001
description: Service monitoring
widget:
type: uptimekuma
url: http://192.168.1.100:3001
slug: YOUR-STATUS-PAGE-SLUG
- Storage:
- Nextcloud:
icon: nextcloud.png
href: http://192.168.1.100:8080
description: Cloud storage
- Immich:
icon: immich.png
href: http://192.168.1.100:2283
description: Photo backup
widget:
type: immich
url: http://192.168.1.100:2283
key: YOUR-IMMICH-API-KEYConfigure System Stats Widgets
nano ~/homepage/config/widgets.yaml- resources:
cpu: true
memory: true
disk: /
cputemp: true
label: Mini PC
- search:
provider: duckduckgo
target: _blank
- datetime:
text_size: xl
format:
dateStyle: long
timeStyle: short
hour12: true
- openweathermap:
label: Home
latitude: 40.7128
longitude: -74.0060
units: imperial
provider: openweathermap
apiKey: YOUR-OWM-KEY # Free at openweathermap.org
cache: 5Configure Docker Integration
Homepage can auto-discover Docker containers with the right labels:
nano ~/homepage/config/docker.yamlmy-server:
socket: /var/run/docker.sockThen add labels to your other Docker containers:
# In any service's docker-compose.yml:
services:
  jellyfin:
    image: jellyfin/jellyfin:latest
    labels:
      - "homepage.group=Media"
      - "homepage.name=Jellyfin"
      - "homepage.icon=jellyfin.png"
      - "homepage.href=http://192.168.1.100:8096"
      - "homepage.description=Media Server"
Containers with these labels appear on the dashboard automatically.
Option 2: Homarr GUI Configuration
Homarr is configured entirely through a drag-and-drop web interface — no YAML files. Better for users who prefer visual configuration.
Deploy Homarr
mkdir -p ~/homarr/{configs,data,icons}
nano ~/homarr/docker-compose.ymlservices:
homarr:
image: ghcr.io/ajnart/homarr:latest
container_name: homarr
ports:
- "7575:7575"
volumes:
- /var/run/docker.sock:/var/run/docker.sock:ro
- ./configs:/app/data/configs
- ./data:/data
- ./icons:/app/public/icons
restart: unless-stoppedcd ~/homarr
docker compose up -dAccess at http://192.168.1.100:7575. No initial configuration required — use the drag-and-drop interface to add tiles and widgets.
Making the Dashboard Your Browser Home Page
Set http://192.168.1.100:3000 or your domain if behind NPM as the home page in your browser. Every new tab opens your mini PC dashboard — services, stats, and weather at a glance.
For mobile access, add the URL as a home screen shortcut on iOS/Android. It opens as a full-screen web app.
Adding to Nginx Proxy Manager
For HTTPS access and a clean URL:
In NPM → Add Proxy Host:
- Domain:
home.yourdomain.com - Forward to:
homepage:3000 - SSL → Let’s Encrypt
For internal-only access, add an Access List restricting to 192.168.1.0/24.
Keeping the Dashboard Updated
cd ~/homepage
docker compose pull && docker compose up -d
Homepage releases updates frequently. Run monthly or add to your Watchtower configuration for automatic updates.
Who Should Skip This Comparison
Frequently Asked Questions
What is a home server dashboard and why do I need one?
A home server dashboard is a web page that shows all your self-hosted services in one place — links to Jellyfin, Home Assistant, Nextcloud, Portainer, Pi-hole — along with system stats CPU, memory, disk and service status indicators. Instead of remembering 10 different IP:port combinations, you open one URL and click to any service.
What is the difference between Homepage and Homarr?
Homepage gethomepage.dev is YAML-configured, lightweight, and integrates directly with Docker to auto-discover containers. Homarr has a drag-and-drop web UI for configuration and built-in widgets Sonarr queue, Plex activity, download speed. Homepage is preferred for a mini PC home server because it’s simpler and reads Docker metadata automatically. Homarr is better if you prefer a GUI over YAML files.
Can the dashboard show real-time stats like CPU and memory usage?
Yes. Homepage integrates with Glances or reads system metrics directly, showing CPU usage, memory, disk I/O, and network throughput in real-time widgets. It also integrates with service APIs — Sonarr queue count, Plex active streams, Pi-hole query statistics — pulling live data directly from each service.
Is the dashboard accessible from outside my home network?
Yes, if you expose it via Nginx Proxy Manager with HTTPS and a domain name. Add access controls Cloudflare Access, Authelia, or NPM’s built-in access list to prevent unauthorized access to your service dashboard from the internet. For most users, LAN-only access is sufficient.