
This article contains affiliate links. If you purchase through our links, we may earn a commission at no extra cost to you. We only recommend products we’ve thoroughly researched and verified.
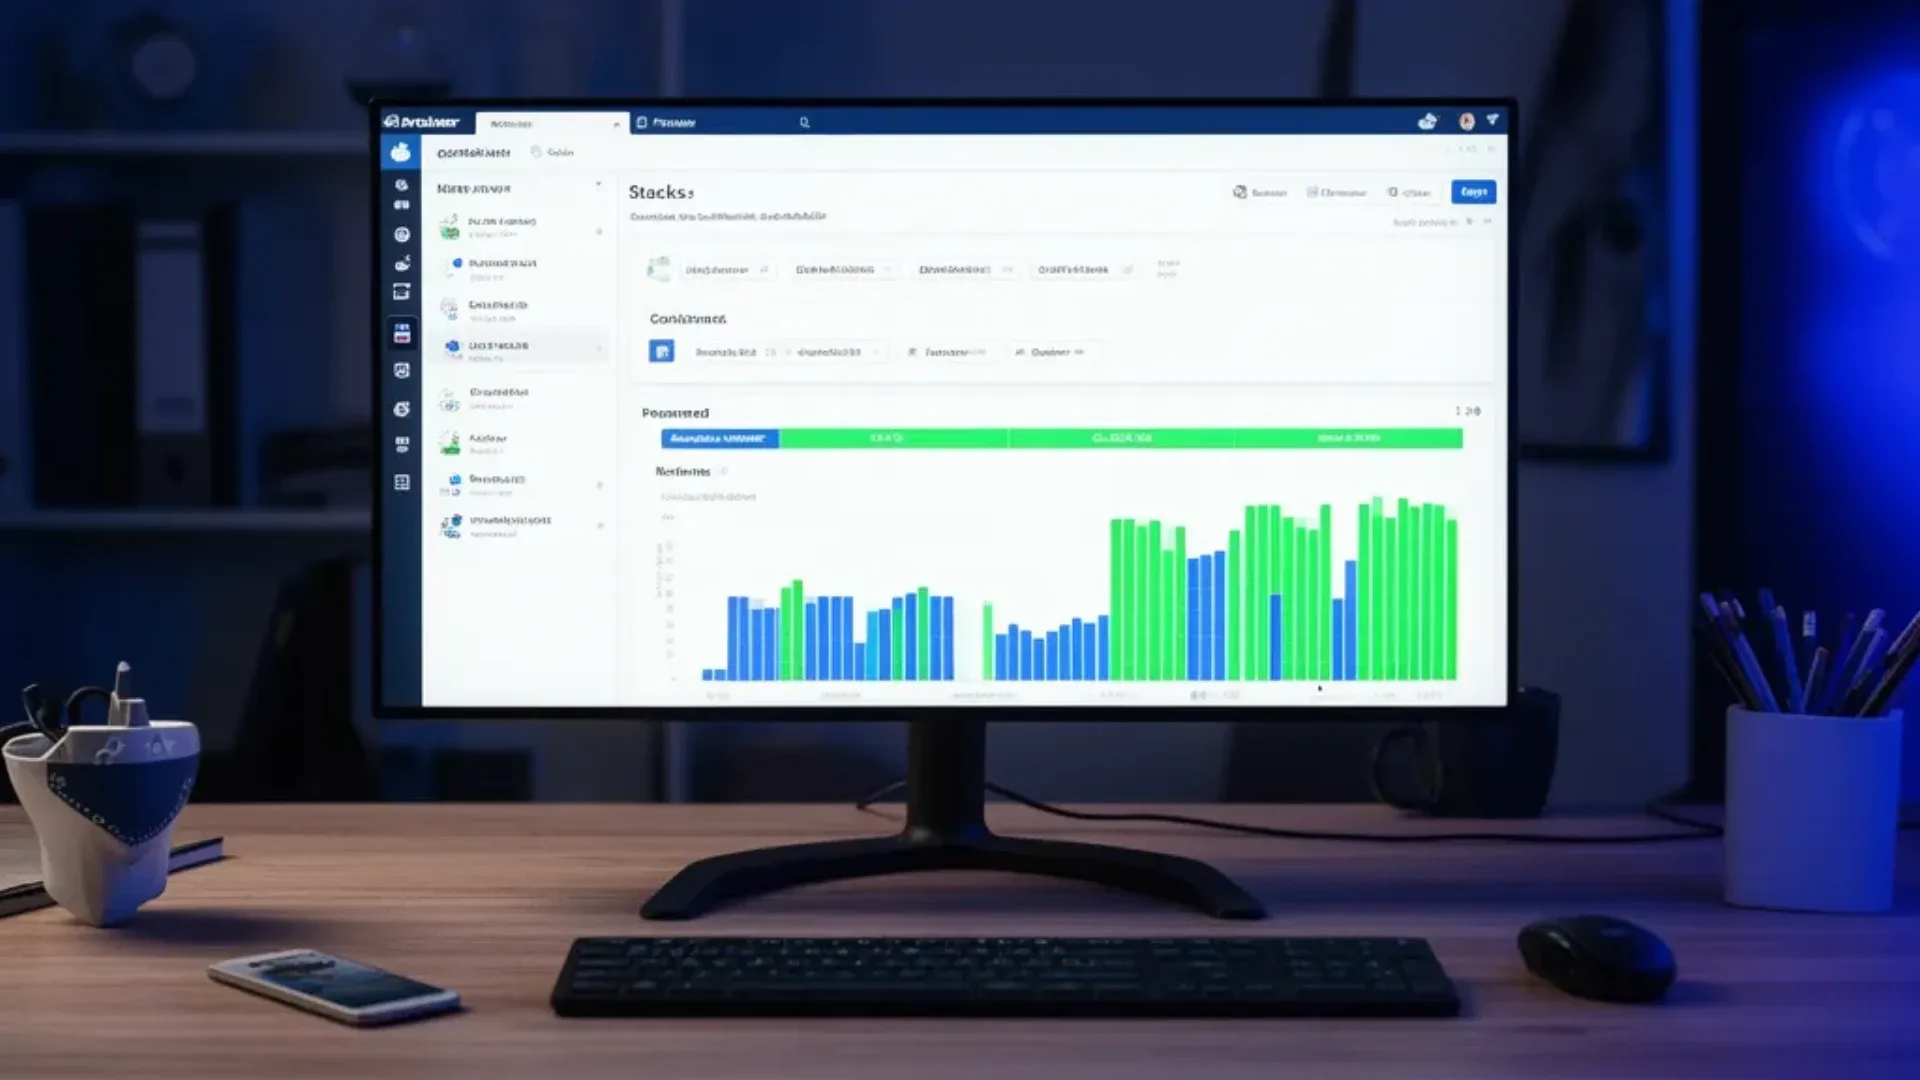
Portainer turns Docker management from a command-line task into a browser-based workflow. This guide covers installing Portainer CE on a mini PC running Ubuntu Server 24.04 LTS, securing it with HTTPS, and using it to manage your Docker stack — containers, images, volumes, and networks — from any browser on your local network.
What you need:
- A mini PC running Ubuntu Server 24.04 LTS with Docker installed
- Basic familiarity with Docker and SSH
Step 1: Install Docker if not already installed
curl -fsSL https://get.docker.com | sh
sudo usermod -aG docker $USER
newgrp docker  # Apply group membership without logout
Verify Docker is running:
docker version
docker run hello-world
Step 2: Install Portainer CE
Portainer stores its configuration in a named Docker volume. Create the volume first, then run the container:
# Create the persistent data volume
docker volume create portainer_data

# Run Portainer CE
docker run -d \
  --name portainer \
  --restart=always \
  -p 8000:8000 \
  -p 9443:9443 \
  -v /var/run/docker.sock:/var/run/docker.sock \
  -v portainer_data:/data \
  portainer/portainer-ce:latest
Port reference:
9443— HTTPS web UI self-signed certificate on first launch8000— Portainer agent communication port used if managing remote Docker hosts
Access Portainer at https://192.168.1.100:9443. Your browser will warn about the self-signed certificate — this is expected on first access. Proceed past the warning.
Step 3: Initial Setup
On first access, Portainer asks you to:
- Create the admin account — set a strong password. This is the only protection for the entire Docker environment on your server.
- Connect to your Docker environment — select “Docker” local socket. Portainer connects via
/var/run/docker.sockto manage the local Docker daemon.
After setup, the Home screen shows your Docker environment and the number of running containers.
Step 4: Manage Portainer with Docker Compose Recommended
Running Portainer via docker run works but is harder to update. Convert it to a Docker Compose stack:
mkdir -p ~/portainer && nano ~/portainer/docker-compose.ymlservices:
portainer:
image: portainer/portainer-ce:latest
container_name: portainer
ports:
- "8000:8000"
- "9443:9443"
volumes:
- /var/run/docker.sock:/var/run/docker.sock
- portainer_data:/data
restart: always
volumes:
portainer_data:
external: true # Reuse the existing volumeIf you already ran the docker run command above, stop and remove that container first:
docker stop portainer && docker rm portainer
cd ~/portainer && docker compose up -d
Step 5: Add HTTPS with a Trusted Certificate
Portainer’s self-signed certificate causes browser warnings. Use Nginx Proxy Manager with Let’s Encrypt to proxy Portainer through a trusted HTTPS certificate.
Deploy Nginx Proxy Manager alongside Portainer:
# Add to docker-compose.yml or separate stack
services:
  nginx-proxy-manager:
    image: jc21/nginx-proxy-manager:latest
    ports:
      - "80:80"
      - "443:443"
      - "81:81"   # NPM admin UI
    volumes:
      - ./npm/data:/data
      - ./npm/letsencrypt:/etc/letsencrypt
    restart: unless-stopped
In NPM admin at http://192.168.1.100:81:
- Add Proxy Host:
- Domain:
portainer.yourdomain.com
- Domain:
- Forward Hostname:
portaineror the container IP- Forward Port:
9443 - Enable: “Websockets Support”
- Enable: “HTTP/2 Support”
- Forward Port:
- SSL tab → Request Let’s Encrypt certificate → Force SSL
Access Portainer at https://portainer.yourdomain.com with no browser warnings.
Step 6: Deploy a Stack with Portainer
Portainer’s Stacks feature manages Docker Compose applications from the UI.
Deploy a new stack
- In Portainer → Stacks → Add Stack
- Name:
pihole - Paste the
docker-compose.ymlcontent:
services:
  pihole:
    image: pihole/pihole:latest
    container_name: pihole
    ports:
      - "53:53/tcp"
      - "53:53/udp"
      - "8082:80"
    environment:
      TZ: "America/New_York"
      WEBPASSWORD: "your-password"
    volumes:
      - pihole_data:/etc/pihole
      - pihole_dnsmasq:/etc/dnsmasq.d
    restart: unless-stopped

volumes:
  pihole_data:
pihole_dnsmasq:- Click “Deploy the stack”
Portainer pulls images and starts all containers. Status updates appear in real-time.
Manage an existing stack
Navigate to Stacks → select a stack → you can:
- View all containers in the stack and their status
- Stop, start, or restart individual containers or the entire stack
- Edit the compose file and redeploy
- View combined logs across all containers in the stack
Step 7: Enable Auto-Updates with Watchtower
Watchtower automatically pulls and redeploys updated Docker images. Add it to your stack or run standalone:
docker run -d \
  --name watchtower \
  --restart always \
  -v /var/run/docker.sock:/var/run/docker.sock \
  containrrr/watchtower \
  --schedule "0 0 4 * * *" \   # Run at 4am daily
  --cleanup                     # Remove old images after update
Via Docker Compose:
services:
  watchtower:
    image: containrrr/watchtower:latest
    container_name: watchtower
    volumes:
      - /var/run/docker.sock:/var/run/docker.sock
    environment:
      - WATCHTOWER_SCHEDULE=0 0 4 * * *   # Daily at 4am
      - WATCHTOWER_CLEANUP=true
    restart: always
Watchtower checks for image updates on schedule and restarts containers when new versions are available. Portainer shows all container updates and history.
Using Portainer Effectively
Container logs
Select any container → Logs tab — shows live and historical stdout/stderr. Filter by keywords, scroll to timestamp, follow live output. Useful for debugging startup errors without SSH.
Resource monitoring
Home → select your Docker environment → shows real-time CPU, memory, and network graphs per container. Identify memory hogs without installing additional monitoring tools.
Quick container restart
Container list → select container → Restart. Useful when a service hangs without a full redeploy.
Image cleanup
Images → Remove unused images — reclaims disk space from old image layers after updates. Run monthly to keep disk usage in check.
Keeping Portainer Updated
cd ~/portainer
docker compose pull && docker compose up -d
Or let Watchtower handle it automatically.
Troubleshooting
Can’t Access Portainer UI
Verify the container is running: docker ps | grep portainer. Check that port 9443 isn’t blocked by a host firewall: sudo ufw status. If UFW is enabled: sudo ufw allow 9443/tcp.
“permission denied while trying to connect to the Docker daemon socket”
Your user isn’t in the docker group: sudo usermod -aG docker $USER then log out and back in.
Portainer Shows Environment as “Down”
The /var/run/docker.sock mount is the connection to the Docker daemon. If Docker restarts, Portainer automatically reconnects. If Docker is stopped, Portainer can’t connect — start Docker: sudo systemctl start docker.
Lost Portainer Admin Password
Reset the password by stopping Portainer, running a reset container, and restarting:
docker stop portainer
docker run --rm -v portainer_data:/data portainer/helper-reset-password
docker start portainer
# New password printed in container output
Who Should Skip This Comparison
Frequently Asked Questions
What is Portainer and do I need it on a mini PC home server?
Portainer is a web UI for managing Docker containers, stacks, volumes, and images. It replaces repetitive terminal commands with a browser interface. For a mini PC home server, Portainer is useful when you’re managing 5+ containers and want to monitor resource usage, restart containers, and view logs without SSH. It’s optional — but most homelab users install it early.
Is Portainer CE free?
Yes. Portainer Community Edition is completely free, open-source, and supports managing a single Docker host, Swarm clusters, and Kubernetes environments. Portainer Business Edition adds enterprise features RBAC, audit logs, GitOps but is not needed for home server use.
Does Portainer work with Docker Compose?
Yes. Portainer calls Docker Compose stacks ‘Stacks’ in its UI. You can paste a docker-compose.yml directly into the Portainer stack editor, and Portainer creates and manages all the containers, networks, and volumes defined in it. Existing compose stacks on disk can also be imported.
Is Portainer secure enough to expose to the internet?
Only behind HTTPS and with a strong password. Do not expose Portainer’s port 9443 directly — use Nginx Proxy Manager with Let’s Encrypt to proxy it. Portainer itself supports HTTPS natively on port 9443 with a self-signed certificate, but a proper Let’s Encrypt cert prevents browser warnings. Never expose the admin account without 2FA when internet-accessible.